Labels
✓ EnergyID for BusinessLabels help you organize the records in your workspace the way you want. You can then use labels as a filter anywhere you make a record selection, for example when deciding which records to include in an analysis. Labels are managed at workspace level: once you create a label, you can use it on any record in that workspace.
Create a label
You can create labels from a record in the workspace record list.
- Open a record from the overview.
- In the record details, go to the Labels section and click Add label (or the + button).
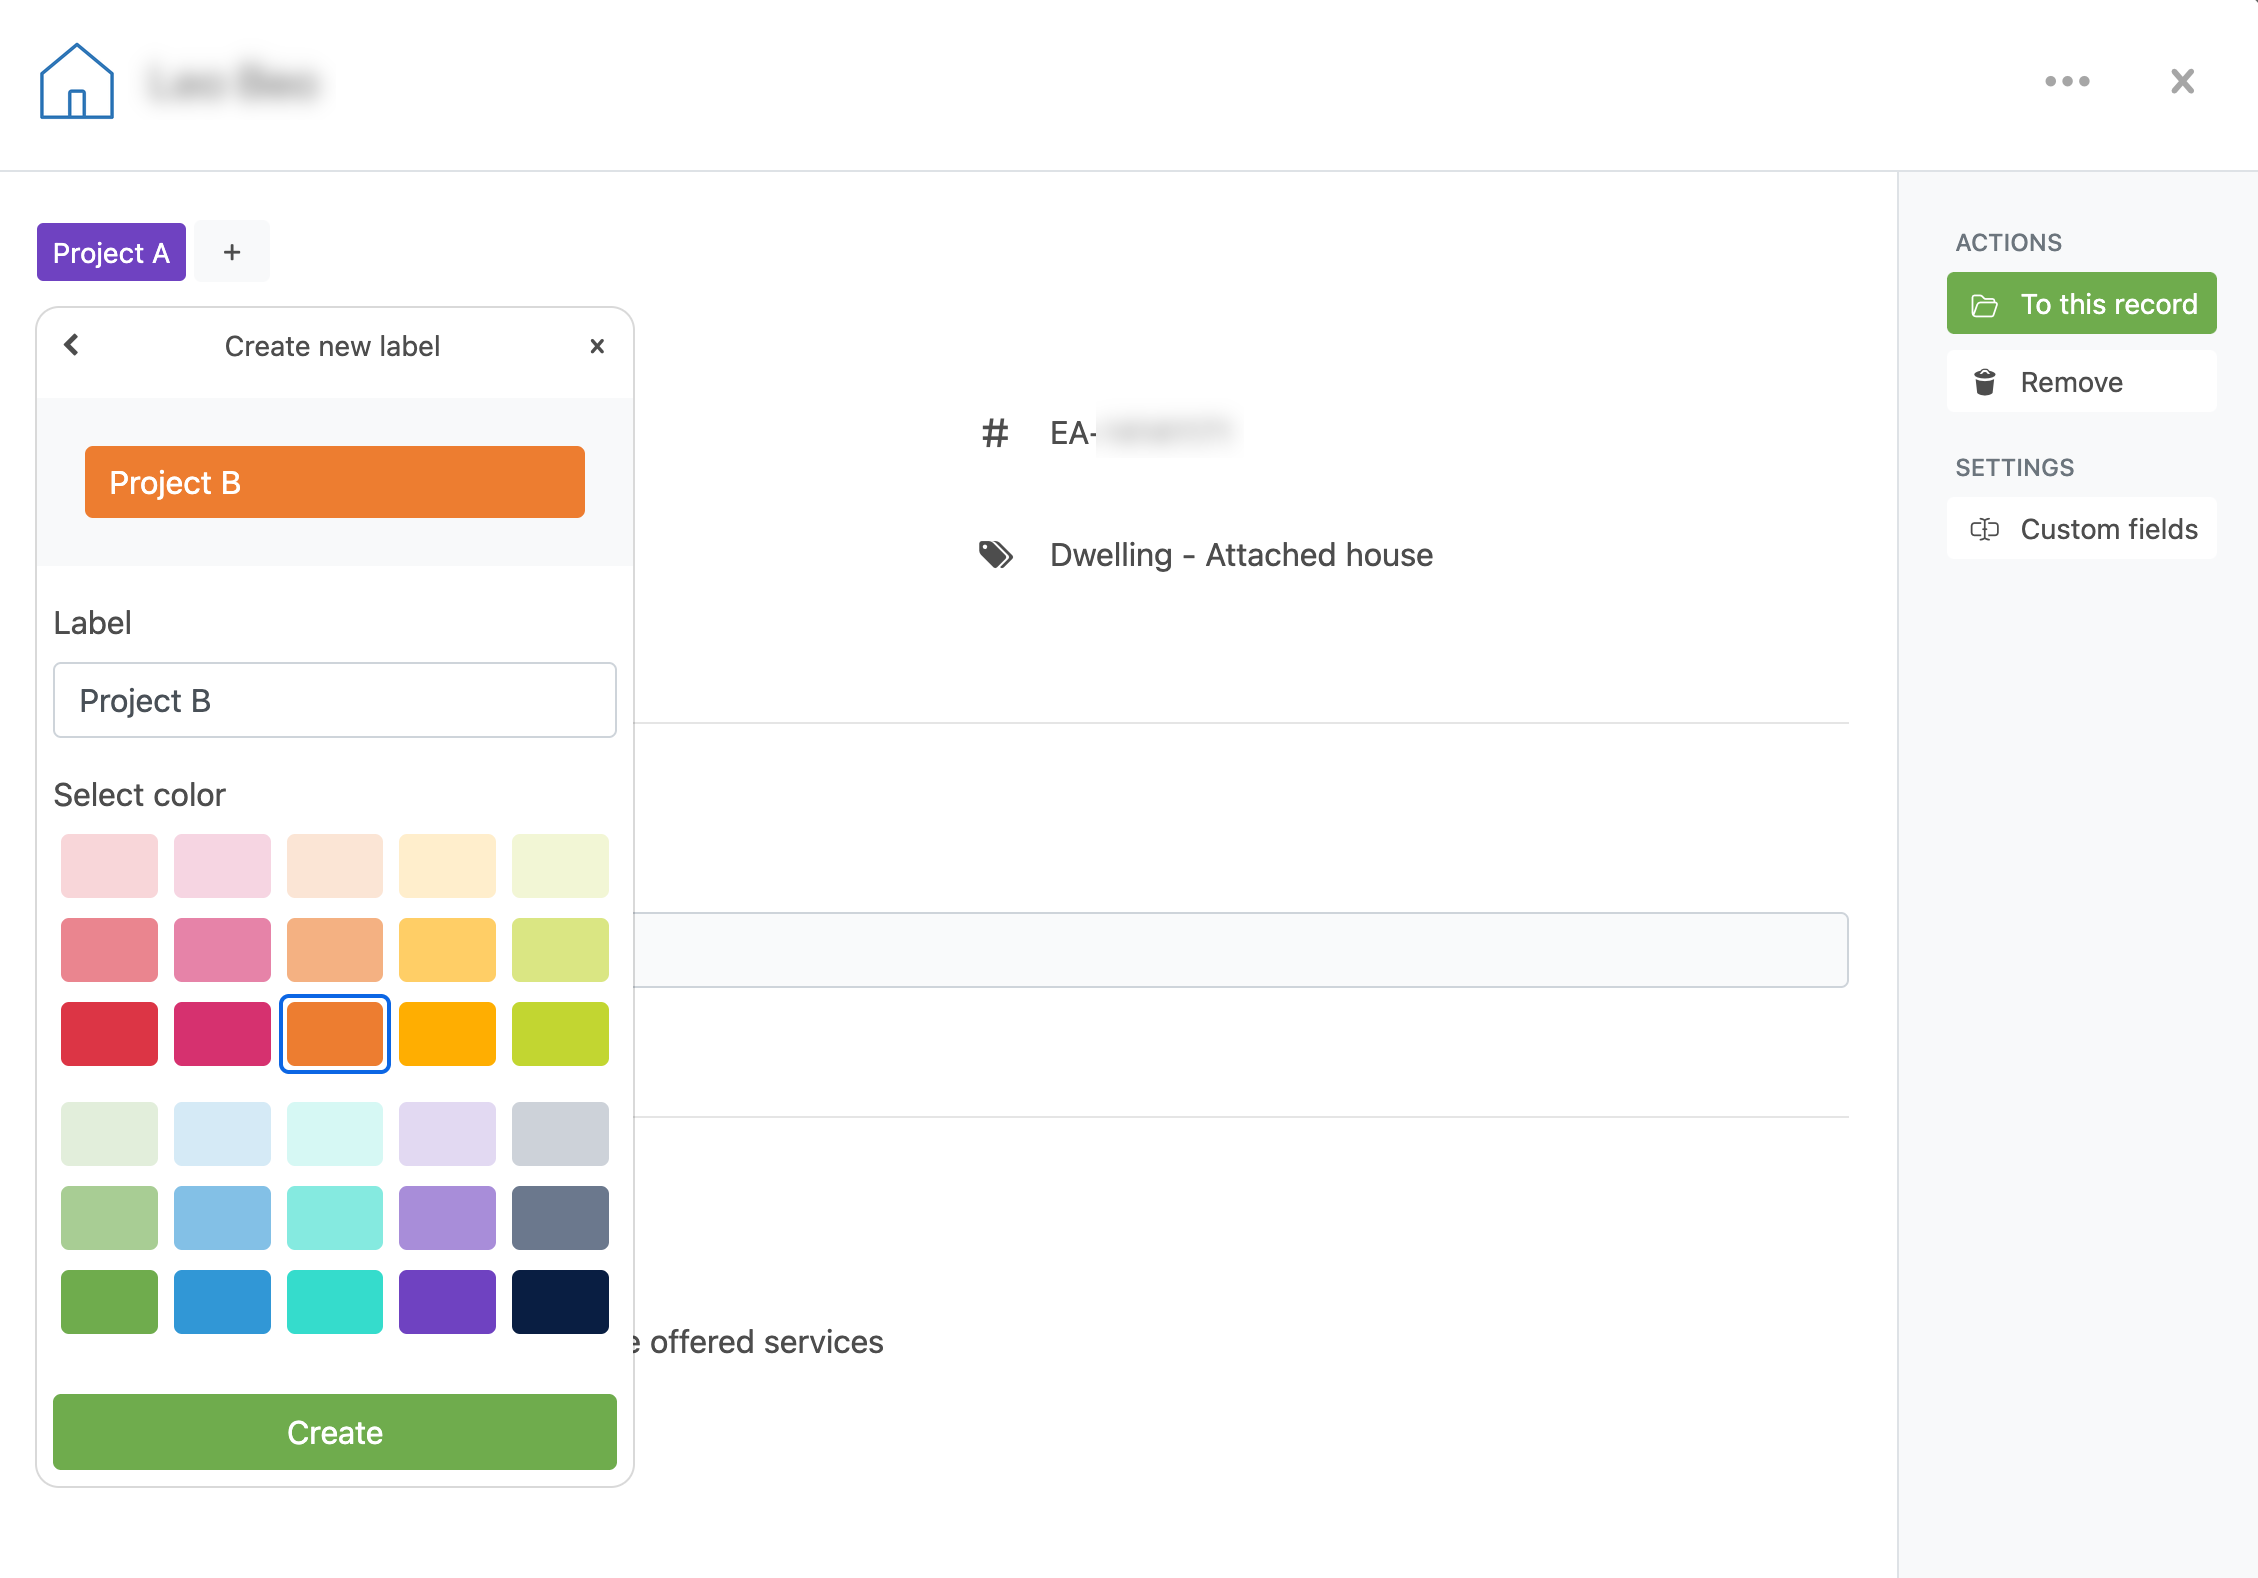
- Click Create new label.
- Enter a name for the label and choose a color.
- Click Create.
Use labels on records
After a label is created, you can assign it to records in the same dropdown list.
- Open a record and go to the Labels section.
- Select or clear labels in the list to add them to or remove them from that record.
A record can have multiple labels.
Where labels are shown
Assigned labels are visible in the record details and in the Labels column of the workspace records table. This gives you a quick visual overview of all records.
Edit a label
- Open a record and open the Labels dropdown.
- Find the label and click the edit icon.
- Update the name and/or color.
- Click Save.
Delete a label
- Open the label in edit mode.
- Click Delete and confirm.
When you delete a label, it is removed from all records. This action cannot be undone.
Note: If a label is used by one or more workspace features, deletion is blocked until you update the settings of those features.