Home Assistant
Home Assistant is an open-source platform for smart home automation. It functions as a central place to integrate and automate various smart devices and services in your home.
One of Home Assistant's strengths is its ability to integrate with a wide range of devices. It uses a modular system, allowing you to easily add and integrate new devices.
The platform also offers powerful automation capabilities. You can set up scenarios where certain actions are automatically performed based on predefined conditions.
Home Assistant is popular for its flexibility, customizability, and active community. It runs on various platforms, including Raspberry Pi, and you have full control over your data as it is hosted locally on your own hardware.
Official EnergyID Home Assistant Integration
The Home Assistant integration allows you to push sensor data directly from your local Home Assistant instance to your EnergyID record for advanced analysis and reporting.
For detailed configuration options and troubleshooting, please refer to the official Home Assistant documentation.
1. Generate Credentials
To secure the connection, you need a Provisioning Key and Secret.
- When adding the Home Assistant integration to your EnergyID account, click on Generate Credentials (or Manage provisioning credentials if already generated).
- Copy both the Provisioning Key and Provisioning Secret.
- Keep this tab open or save these credentials temporarily; you will need to paste them into Home Assistant.
2. Connect Home Assistant
You can add the integration automatically using My Home Assistant, or install it manually via your instance settings.

Manual Setup:
- Open your Home Assistant instance.
- Navigate to Settings > Devices & Services.
- Click Add Integration and search for "EnergyID".
3. Configuration & Claiming
- When prompted in Home Assistant, paste the Provisioning Key and Secret you obtained in Step 1.
- First-time connection: You will be redirected to the EnergyID website to Claim your device. Select the Record (e.g., your home) you wish to link to this Home Assistant instance and confirm.
- Once claimed, the setup in Home Assistant will finish automatically.
4. Map Sensors & Link Data
Data flow is a two-step process: defining what to send from Home Assistant, and confirming where it belongs in EnergyID.
In Home Assistant:
- Go to the EnergyID integration entry and click Configure.
- Use the Add Sensor Mapping option to select which sensors (e.g., Solar Production, Grid Import, Gas Meter...) to send.
- Once submitted, it could take a new update to the senor to be saved in Home Assistant before you can add the meter inside of EnergyID. This could take some minutes depending on the entity.
In EnergyID (Measurement points):
After mapping your sensors in Home Assistant, return to this integration page on EnergyID. You will see the incoming data streams listed under Measurement points.
It may take a while before you see these measurement points appear if your sensor (e.g. heat pump, etc.) does not register updates very often in Home Assistant.

tip: you also get notifications when a new datapoint is received from your Home Assistant integration: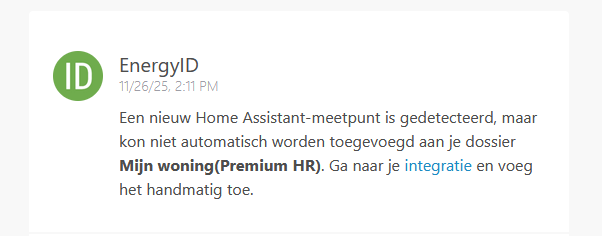
Common Issues
My sensor resets daily/periodically
Symptom: Your Home Assistant sensor shows consumption that resets to 0 periodically (e.g., daily at midnight), causing incorrect data in EnergyID.
Example: Sensor shows 0→5→10→15→0→3→8... instead of continuously increasing.
Solution: Create a Utility Meter helper that converts this to a cumulative total.
Via UI:
- Go to Settings → Devices & Services → Helpers
- Click Create Helper → Utility Meter
- Configure:
- Input sensor: Your daily-resetting sensor
- Meter reset cycle: No cycle ← Important!
- Periodically resetting: ✓ Enabled ← Important!
- Use this new cumulative sensor in your EnergyID sensor mapping
Optionally this can also be done via YAML in the config file:
utility_meter:
  my_cumulative_meter:
    source: sensor.my_daily_resetting_sensor
    name: "My Cumulative Total"
    # No 'cycle' = never resets
    periodically_resetting: true
Why these settings?
- "No cycle" means the Utility Meter never resets its total
- "Periodically resetting" tells it to expect the source sensor to reset, so it handles 24→0 transitions correctly
For more details, see the Home Assistant Utility Meter documentation.